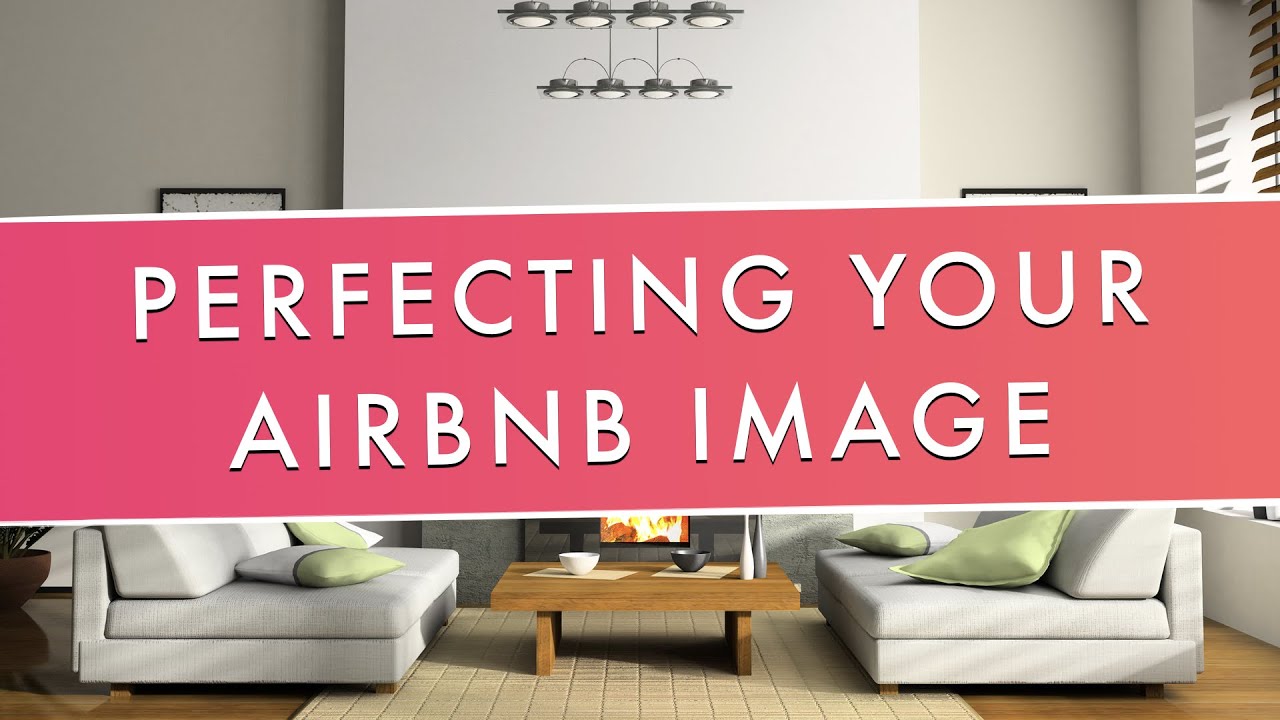
Before a guest reads a single word of your title or description, they’ve already made a snap judgment based entirely on the cover photo. These Airbnb photography tips exist because that first image — and the handful that follow it — carry more weight in a booking decision than almost anything else on the listing, including price in a lot of cases.
Most hosts don’t need a professional photographer’s budget to get this right. They need a clearer sense of what actually makes a listing photo work, and a bit of intentional effort applying it.
Quick Answer
Strong Airbnb photography starts with natural light, a decluttered space, and a wide-angle shot that shows the room’s actual scale rather than a cropped, cluttered corner. Lead with your most impressive room, shoot during daylight hours with curtains open, and photograph in a logical sequence — living space, bedrooms, bathroom, kitchen, outdoor areas — so guests feel like they’ve already toured the property before booking. Professional photography delivers a real return for most hosts, but a smartphone shot thoughtfully, with attention to light and composition, can perform respectably too.
Why Airbnb Photography Matters More Than Most Hosts Realize
Guests scrolling through search results decide whether to click within seconds, and that decision happens almost entirely based on the photo, well before they read the title or scan the amenities list — a dynamic covered from the copywriting side in our guide to Airbnb title examples. A weak photo undersells a genuinely great property just as effectively as a strong photo oversells a mediocre one, which is exactly why photography deserves real attention regardless of how nice the space actually is in person.
Beyond the click itself, photos shape guest expectations before arrival. A listing that photographs honestly and attractively tends to produce guests who arrive with accurate expectations, which supports the kind of consistent five-star reviews covered in our guide to Airbnb Superhost requirements.
Professional Airbnb Photos: Is Hiring a Photographer Worth It?
For most hosts, yes — professional photography consistently ranks among the highest-return investments available, often improving click-through rate and booking conversion enough to pay for itself within the first few bookings. Airbnb’s own photography guidelines confirm this directly, noting that listings with professional photos tend to see meaningfully stronger booking performance. A professional brings equipment (wide-angle lenses, proper lighting gear) and editing expertise that’s difficult to fully replicate with a smartphone alone, and the resulting images tend to look polished in a way that builds guest trust immediately.
That said, professional photography isn’t strictly necessary to get a listing looking genuinely good. A host with a decent smartphone camera, some patience around timing and light, and attention to the composition principles below can produce photos that perform respectably — particularly for hosts just starting out and not yet ready to invest in a professional shoot.
Airbnb Photography Tips: The Fundamentals
Shoot during daylight hours with natural light. Open every curtain and blind, turn off harsh overhead lighting where possible, and photograph in the morning or late afternoon when natural light is softest rather than the harsh midday sun. Artificial lighting alone almost always produces a flatter, less inviting image than a room lit primarily by daylight.
Declutter before shooting, not after. Clear countertops, put away personal items, straighten cushions, and remove anything that wasn’t intentionally placed for the photo. A cluttered room photographs smaller and less appealing than the same room genuinely tidied first.
Shoot wide to show real scale. Standing in a doorway or corner and capturing as much of the room as possible communicates actual space far better than a close-up of a single furniture arrangement. Guests want to understand how a room will feel to move through, not just what individual pieces look like.
Straighten your lines. Crooked photos — where furniture or walls appear to lean — read as unprofessional even when the room itself looks great. Most phone cameras include a level or grid overlay that makes this easy to correct while shooting rather than fixing in editing later.
Edit lightly, not heavily. Brightening a slightly dark photo and correcting color balance improves most images meaningfully. Heavy filters or dramatic edits that make a room look noticeably different from reality tend to disappoint guests on arrival and can hurt reviews even when the actual property is perfectly nice.
How to Photograph a Vacation Rental Room by Room
Living areas deserve the most attention, since this is typically the cover photo and sets the tone for the entire listing. Shoot from a corner to capture depth, and stage it lived-in but tidy — a book on the coffee table, a throw blanket draped naturally, but nothing that reads as clutter.
Bedrooms should emphasize the bed itself, made with fresh, wrinkle-free linens, shot from an angle that shows the room’s full layout rather than just the headboard. Natural light through a window in the background adds warmth that overhead lighting alone can’t replicate.
Bathrooms photograph best clean, dry, and free of personal toiletries — fresh towels, a closed toilet lid, and good lighting go further here than almost any other single factor, since bathrooms are one of the areas guests scrutinize most carefully before booking.
Kitchens benefit from clear counters and a few intentional styling touches — a bowl of fruit, a coffee setup — that suggest functionality without looking staged for a magazine. Guests specifically want to see that a kitchen is genuinely usable, which ties directly into the expectations set in a strong listing description.
Outdoor spaces, when present, often influence booking decisions more than hosts expect — a patio, pool, or yard photographed well can be a genuine differentiator against otherwise similar nearby listings.
Airbnb Photo Checklist
Use this as a practical order before uploading photos to a listing.
☑ Cover photo: your single strongest, most inviting room
☑ Living room from at least two angles
☑ Every bedroom, bed made, natural light visible
☑ Every bathroom, clean and staged
☑ Kitchen, counters clear, functional styling
☑ Dining area if separate from the kitchen
☑ Outdoor space, if applicable
☑ Any standout amenity (hot tub, fireplace, workspace, view)
☑ Exterior or entrance shot, ideally not the very first image
☑ A wide establishing shot if the property has a notable layout or view
Common Airbnb Photography Mistakes
Leading with the exterior or driveway. Unless the exterior itself is the standout feature (a striking view, unique architecture), lead with an interior shot that shows the experience guests are actually booking.
Shooting with lights off and curtains closed. This remains one of the most common mistakes among new hosts, producing dim, uninviting photos that undersell a property regardless of how nice it actually looks in person.
Uploading too few photos, or too many low-quality ones. A handful of genuinely strong images consistently outperforms a large gallery padded with repetitive or low-quality shots that dilute the overall impression.
Photographing at the wrong time of day. Midday sun through a window can wash out a photo just as badly as no natural light at all — early morning or late afternoon light tends to be the most flattering for interior shots.
Never updating photos after a renovation or seasonal change. A listing with outdated photos that no longer match the current property creates a mismatch guests notice immediately upon arrival, which can hurt reviews even when the actual improvement should have helped.
Frequently Asked Questions
Is professional photography worth it for Airbnb?
For most hosts, yes. Professional photography typically improves click-through rate and booking conversion enough to pay for itself within the first several bookings, particularly in competitive markets with many similar listings.
What is the best time of day to photograph an Airbnb?
Early morning or late afternoon generally produces the most flattering natural light, avoiding both the flat look of no daylight and the harsh contrast of direct midday sun.
How many photos should an Airbnb listing have?
There’s no fixed number, but most well-performing listings include enough photos to cover every room, key amenities, and outdoor space clearly — typically 15-25 quality images rather than dozens of repetitive or low-value shots.
What should my Airbnb cover photo show?
Your single most impressive, inviting room — usually the living area or a standout amenity like a view or hot tub — shot wide with strong natural light, since this image determines whether a guest clicks the listing at all.
Conclusion
Airbnb photography tips ultimately come down to a few consistent principles: use real daylight, declutter honestly, shoot wide enough to show genuine scale, and photograph the property in a sequence that lets a guest mentally walk through it before ever arriving. Whether that’s executed with a professional photographer or a smartphone used thoughtfully, the fundamentals stay the same — and getting them right consistently pays off in clicks, conversions, and the kind of accurate guest expectations that lead to strong reviews.
Leave a Reply